
DIY Photography Backdrop: Create Your Own Fabric and Dye Masterpiece
Creating your own photography backdrop can be both cost-effective and a fun way to add a personal touch to your studio. In this brief yet educational blog post, we'll explore how you can create a stunning fabric and dye backdrop for your photography sessions. Let's dive in!
Materials You'll Need
To create your own fabric and dye backdrop, you'll need the following materials:
- A large piece of fabric (such as muslin, canvas, or cotton)
- Fabric dye (in colors of your choice)
- Buckets or large containers for dyeing
- Rubber gloves
- A drop cloth or plastic sheet to protect your workspace
- Clothespins or clamps for securing the fabric during the dyeing process
Step 1: Choose Your Fabric
Select a fabric that is large enough to cover the area you want to use as a backdrop. Opt for a fabric with a tight weave, such as muslin, canvas, or cotton, as these materials will hold dye well and create a smooth, even surface for your photographs.
Step 2: Prepare Your Workspace
Before you begin dyeing, lay a drop cloth or plastic sheet over your workspace to protect it from any spills or stains. This will make cleanup much easier and help prevent damage to your floors or surfaces.
Step 3: Mix Your Dye
Following the instructions on the fabric dye packaging, mix the dye with water in a large container. You can use one color or mix multiple colors to create unique, custom shades. Be sure to wear rubber gloves to protect your hands from the dye.
Step 4: Dye Your Fabric
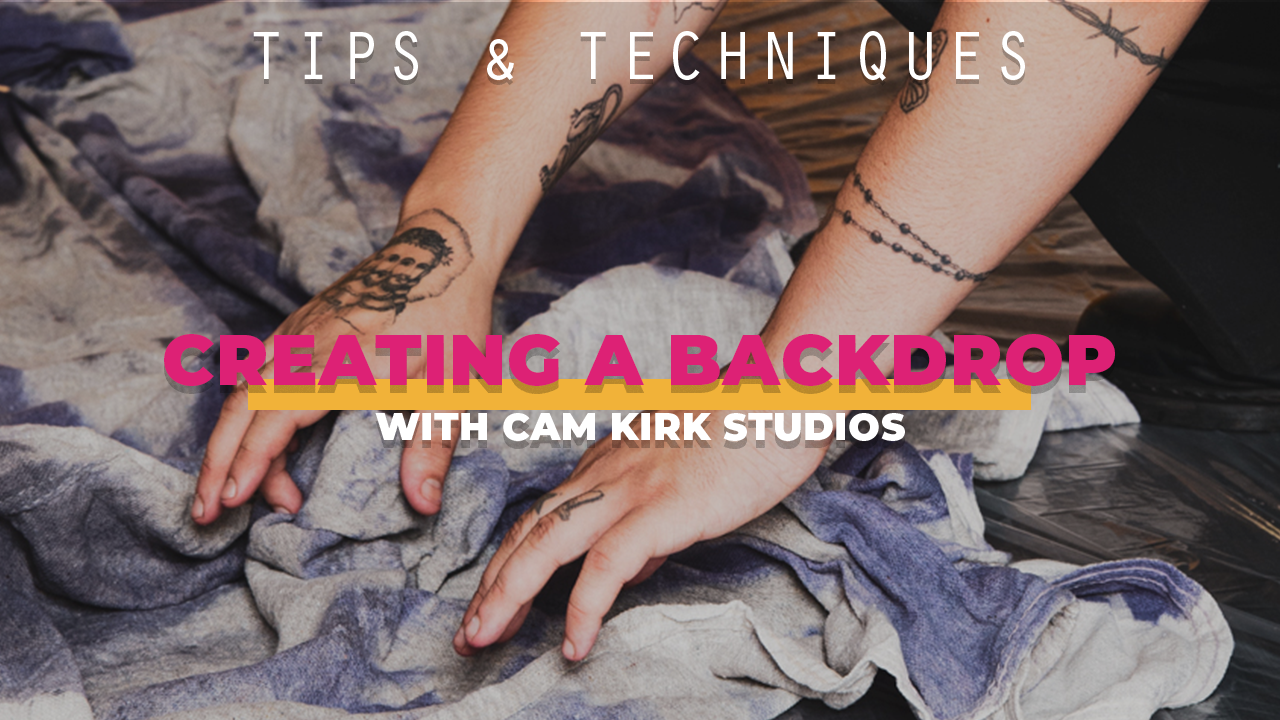
Dip the fabric into the dye, ensuring that it is fully submerged and evenly coated. You can use various techniques to create different patterns and effects, such as:
- Ombre effect: Gradually dip the fabric into the dye, leaving the top portion in the dye for a shorter amount of time than the bottom. This will create a gradient effect, with the color becoming more intense towards the bottom.
- Tie-dye: Before dyeing, use rubber bands or string to tie off sections of the fabric. This will create unique patterns when the fabric is dyed.
- Marbled effect: Gently swirl the fabric in the dye to create a marbled effect.
Step 5: Rinse and Dry
Once your fabric has reached the desired color intensity, carefully remove it from the dye and rinse it in cold water to remove any excess dye. Hang the fabric to dry, using clothespins or clamps to secure it. Make sure to let the fabric dry completely before using it as a backdrop.
Step 6: Set Up Your Backdrop
Now that your fabric is dyed and dry, you can set it up as a backdrop in your photography studio. Use clamps or other mounting tools to secure the fabric to a backdrop stand or other support structure. Voila! You now have a unique, custom backdrop for your photography sessions.
Creating your own fabric and dye backdrop is an easy and enjoyable way to add a personal touch to