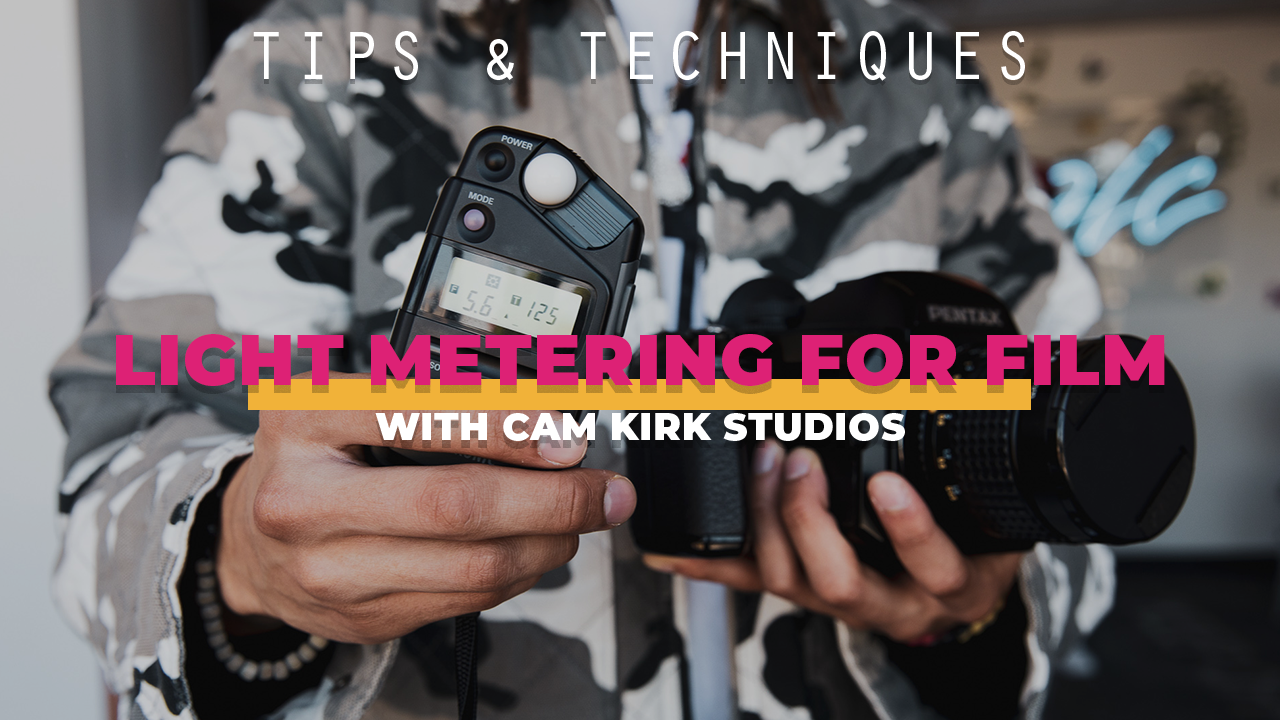
Mastering Light Metering for Film Photography
For film photographers, accurate light metering is essential to capture well-exposed images. In this brief but educational blog post, we'll discuss setting the exposure and matching the settings in your camera for optimal results in film photography.
Setting the Exposure
1. Choose a Light Meter: To set the exposure accurately, you can use a handheld light meter or your camera's built-in light metering system. Handheld light meters are often more accurate, while built-in meters are more convenient.
2. Select a Metering Method: Choose the appropriate metering method based on your subject and lighting conditions. Incident metering measures the light falling on the subject, while reflective metering measures the light reflected off the subject. Spot metering is a type of reflective metering that measures a small area of the scene.
3.Determine the Correct Settings: Your light meter will provide you with the optimal aperture, shutter speed, and ISO settings for your scene. These settings will depend on your film's ISO rating, the available light, and your creative preferences.
Matching the Settings in Your Camera
1. Aperture: Set your camera's aperture to the value provided by your light meter. The aperture controls the amount of light that enters the camera and influences the depth of field in your image. A wider aperture (lower f-number) will allow more light to enter, creating a shallower depth of field, while a smaller aperture (higher f-number) will result in a deeper depth of field.
2. Shutter Speed: Adjust your camera's shutter speed according to your light meter's recommendation. The shutter speed determines how long the film is exposed to light and affects the sharpness of your image. Faster shutter speeds can freeze motion, while slower speeds can create motion blur.
3. ISO: Ensure that your camera is set to the same ISO as your film. The ISO measures the film's sensitivity to light, and mismatched ISO settings can result in overexposed or underexposed images.
4. Test and Adjust: Take a test shot to verify that your settings are accurate. If your image appears too dark or too bright, adjust your aperture, shutter speed, or both to achieve the desired exposure. Remember to compensate for any changes by adjusting the other setting accordingly.
By understanding the fundamentals of light metering and properly setting the exposure and matching the settings in your camera, you can capture well-exposed film photographs with the right balance of highlights and shadows. With practice and experience, you'll be able to master light metering and produce stunning film images.

